DIY Stairs and Balustrades Guide
Everything you need to know to get it right

Whether you’re overseeing a project, just love DIY or already have architect’s drawings, we’re happy to work on whatever parts of the job you need us to do, leaving you to do the design, measuring up or installation.
Design
The first step is designing your project. If you do the design, or if you have an existing design from an architect, please share any architectural plans, and a series of pictures of the site. If you are designing yourself, it is crucial you comply with all relevant building codes. For more info on balustrade safety, click here. For more on stairs, click here.
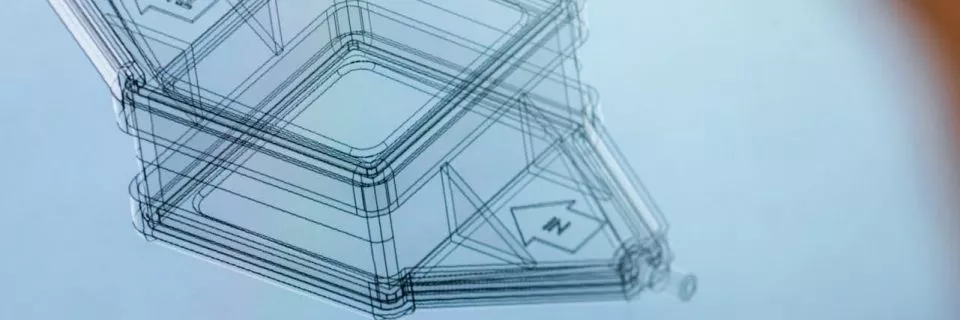
Before proceeding to fabrication, we will create a fabrication drawing, which is a detailed schematic of the design. Once you approve this design, we use it drawing to guide the process.
Materials
Measuring up
Stairs
When measuring up for your stairs, there are several factors to consider:
- the floor-to-floor height
- horizontal distance available from the slab to first step where the stair lands
- slab thickness
- the thickness of tile or carpet on both levels
- the thickness of timber treads
- and the width of your treads.
You should also make sure you allow enough space on the stairs to install a balustrade.
Balustrades
When measuring up for balustrades, keep in mind that the top of the balustrade must be at least 1 metre above floor height. So, you will need to take into account tiling, carpet, etc.
If you measure up yourself, please be aware that you are responsible for the accuracy of the finished product.
Making your project
Supply
Final installation
Balustrades
When installing balustrades, we suggest you follow this process to ensure the best outcome.
- Review the design plan
- Mark the installation/drilling points
- Confirm the design dimensions on the site
- Drill the required holes
- Fix glass holder or panels with chemical anchor, plugs and screws respectively
- Install glass panels (in the case of glass balustrades)
- Maintain level and gaps between panel of the glass with the two adjustment screws
- Measure end to end handrail length and cut to exact length with 5mm tolerance
- Position the handrail in the installation area
- Connect the handrail brackets.
Stairs
When installing stairs, there are a couple of things that deserve special mention.
- You should procure lifting and propping system since the steel stairs can be heavy
- The bottom floor is not finished before in installed
- The gyprock plasterboard and paint are finalised on walls except where stair is connected to slab
- You should ensure the riser height is consistent especially on first and last step
- If your stairs are adjacent to a wall, you should maintain the required gap between the wall and the stairs.
- Once the stair is in position, mark the holes to drill into slab and floor
- In some cases you might get away without removing stair to drill but sometimes you might have to move the stair away from holes
- Drill the hole and install the studs with chemi-anchor
Please be aware all the information on this page is provided as an introductory guide. If you design, fabricate, measure or install your own project, Aussie Balustrading & Stairs takes no responsibility.
Helpful Articles and Blogs

5 Great Reasons to Install Stainless Steel Wire Balustrades
A stainless steel wire balustrade is a type of railing system that is used to provide a barrier between two areas. It is typically made up of metal wires that are strung together in a grid-like pattern and suspended between two posts or columns. The wires are usually stainless steel, which is known for its strength, durability, and corrosion resistance, making it an ideal material for use in balustrades.

Three Impressive Benefits of Having Stainless Steel Handrail
Adding a stainless steel handrail to your home is an excellent way to add style and safety to your space. These railings are not only stylish, but they are also highly durable, making them an ideal choice for homes with children or pets. Additionally, they are easy to clean and maintain so that you can enjoy their beauty for years.

Top 9 Tips to Help You Avoid Rust on Your Steel Balustrades
As any homeowner knows, rust is the enemy of steel. Balustrades are no exception – if left untreated, rust can quickly ruin the look of your otherwise beautiful home. But don’t despair – there are a few simple steps you can take to prevent rust from taking hold of your balustrades.
